
Picking up your first crochet pattern can feel like opening a book in another language. There are abbreviations, asterisks, brackets and numbers in parentheses, and none of it comes with a translation key. It is normal to stare at a line such as "rep from * to * 3 times" and wonder where the asterisk even starts, or whether you are supposed to count the stitches before it.
The good news is that crochet patterns follow a consistent logic. Once you know what to look for, the same abbreviations and symbols appear again and again, whether you are making a dishcloth, a granny square or a small amigurumi toy. This guide walks through the parts of a pattern that trip up most beginners, so you can read the instructions with confidence before you pick up your hook.
What the pattern tells you before you start
Every pattern begins with a materials list and a stitch key or abbreviations section. Read this part first, even if you are eager to start stitching. It tells you which hook size to use, what weight of yarn the designer used, and whether you need stitch markers, a tapestry needle, stuffing or anything else.
The hook size matters because it changes the size of your stitches. A 4 mm hook worked with the same yarn will give you a different fabric than a 6 mm hook, and your finished piece may end up larger or smaller than the picture. If you are making something that needs to fit, such as a hat or a garment, this is where you check that your hook matches the designer's.
Some patterns also list gauge or tension. This means how many stitches and rows fit inside a 10 cm square. You do not need to match it exactly for a toy or a coaster, but it is worth making a small swatch if the finished size matters. A swatch is simply a small square of stitches worked in the pattern stitch, measured before you begin the real project. If your swatch has too many stitches in 10 cm, try a larger hook; if it has too few, try a smaller hook.
Abbreviations and stitch names
Crochet patterns use abbreviations to keep the instructions short. The most common ones appear in almost every beginner pattern:
- ch — chain
- ss — slip stitch
- dc — double crochet (US single crochet)
- htr — half treble crochet (US half double crochet)
- tr — treble crochet (US double crochet)
- dtr — double treble crochet (US treble crochet)
- inc — increase (two stitches worked into one stitch)
- dec — decrease (two stitches worked together)
- rep — repeat
We use UK/Australian stitch names here.
Some patterns also use abbreviations that are specific to that one design, such as "cl" for cluster or "pop" for popcorn stitch. These should be explained in the stitch key at the beginning. If you see an abbreviation you do not recognise, check that list before you guess.
How asterisks and repeats work
An asterisk (*) marks a section of stitches that you repeat. The pattern will say something like "rep from * to *" or "repeat from * across the row." Everything from the asterisk to the semicolon, or between two asterisks if the pattern uses a pair, is the chunk you work more than once.
For example, a row might read:
1 dc in each of next 3 sts, *2 dc in next st, 1 dc in each of next 2 sts; rep from * to end.
This means you work the stitches before the asterisk once, then work the section from the asterisk to the semicolon over and over until you reach the end of the row. You do not go back to the beginning of the row — you start the repeat at the asterisk each time.
Watch the wording on the number. "Rep from * 3 more times" means you work the section once, then three more times, so four in all. Plain "rep from * 3 times" usually means the same thing, but designers differ, so use the stitch count at the end of the row to check.
Reading a repeat is like reading a recipe instruction such as "repeat steps 2 to 4 for each vegetable." You do not start the recipe over; you just go back to step 2 and work through to step 4 again.
Parentheses, brackets and stitch counts
Parentheses ( ) and brackets [ ] group stitches together. They usually mean "work all of these stitches into the same stitch or space." For example, "(2 tr, ch 2, 2 tr) in next st" means you make all of those stitches inside one stitch, which creates a corner or a shell.
Brackets often work the same way but for a larger group, especially when the pattern gives different instructions for different sizes. You might see "[12, 14, 16] sts" where the numbers match the sizes listed at the top of the pattern. Choose the number for the size you are making and ignore the rest.
At the end of a row or round, you will often see a number in parentheses, like "(12 sts)." That is the stitch count — how many stitches you should have after finishing that row. Count your stitches and compare. If your number does not match, you know something went wrong before you move on, and it is much easier to fix one row than ten.
Rows, rounds and turning chains
Patterns are worked either in rows (back and forth) or in rounds (in a circle or spiral). The instructions will tell you which one.
When working in rows, you turn your work at the end of every row. The turning chain at the start of the next row brings your hook up to the right height for the stitches that follow. A chain 1 before double crochet usually does not count as a stitch, while a chain 3 before treble crochet usually does. The pattern should say whether the turning chain counts as a stitch — this changes where you put your last stitch of the next row, so it is worth checking.
When working in rounds, you either join with a slip stitch at the end of each round or work in a continuous spiral without joining. Amigurumi toys are usually worked in continuous rounds, which is why stitch markers are so helpful: they mark the start of the round so you do not lose your place. If you are working in joined rounds, the pattern will tell you to join with a slip stitch to the top of the beginning chain.
What skill level means
Patterns are often labelled beginner, easy, intermediate or experienced. A beginner pattern usually uses only the basic stitches, works in rows or simple rounds, and has few shaping changes. An easy pattern might introduce colour changes, simple seaming or slightly more complex stitch repeats. These labels are a guide, not a rule: if a beginner pattern interests you, there is no harm in trying it, and if an easy pattern looks straightforward, you can work through it slowly.
The best way to tell if a pattern is right for you is to read the first few rows. If the abbreviations and repeats make sense, you are probably ready to start.
What to do when the instructions do not make sense
If a line of the pattern stops you, read the whole sentence again slowly. Look for the abbreviations list, check whether you are inside a repeat section, and count the stitches you have worked so far in the row. Most confusion comes from missing one small word, such as "in next st" or "in same st."
It also helps to read through the entire pattern before you start. You do not need to memorise it, but spotting the repeats and any size choices early means fewer surprises halfway through. Highlight the size you are making if the pattern gives several options, so you do not accidentally follow the instructions for a different size.
If you are still stuck, put the work down and come back later. Crochet patterns look clearer with fresh eyes, and a mistake caught early is much easier to unpick than one found ten rows later.
Common stitch-count problems and quick fixes
- Too many stitches: you may have worked an increase where the pattern asked for a regular stitch, or counted the turning chain as a stitch when it should not be counted.
- Too few stitches: you may have missed a stitch at the end of the row, or worked two stitches together when only one was asked for.
- Losing your place in a repeat: use a stitch marker at the start of every repeat, or move a small scrap of yarn along as you finish each section.
- Not sure which row you are on: write the row number down, or use a row counter. Do not try to hold it all in your head.
- Twisted foundation chain: check that your chain is not twisted before you join into a ring, especially for circular projects.
Start small and build from there
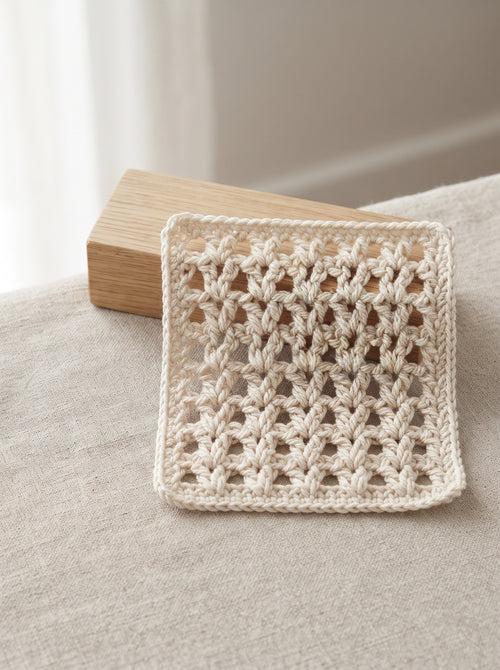
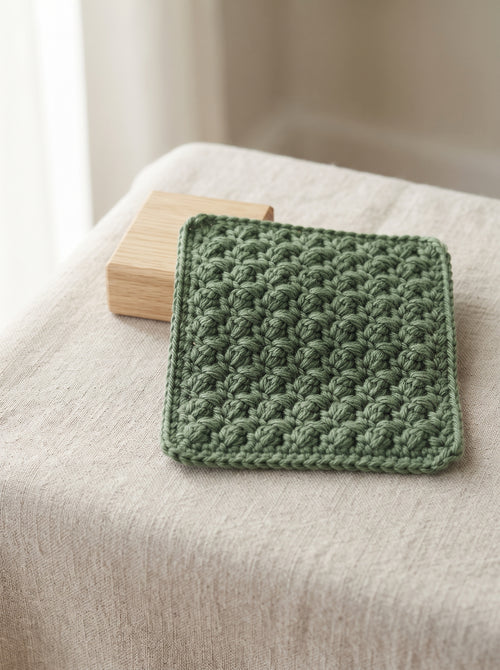
Reading a pattern is a skill that gets easier every time you use it. The abbreviations start to feel like familiar shortcuts, and the repeats become predictable. Start with a small, flat project — a coaster, a dishcloth or a simple square — where a miscount does not matter much, and build from there.
If you want a first pattern to practise on, the strawberry pattern is a small, beginner-friendly amigurumi worked in continuous rounds with clear instructions. And if you are still gathering your tools, the starter set has soft-grip hooks, practice yarn and the small tools you will reach for on every make.
You can also browse the free crochet patterns collection for more small projects to try.
Once you feel comfortable with the basics, you might like our guide to reading an amigurumi pattern line, which explains what "Rnd 2: 7 inc (14)" means stitch by stitch.
Keep going. Every crocheter started exactly where you are now.

Crochet pattern
Crochet Strawberry Pattern PDF, Miniature Amigurumi Fruit
Free pattern
Get the free pattern
Crochet kit
Crochet starter set in a floral zip case, hooks, yarn and tools
$49.99 AUD
See it in the shop
0 comments